





Offshore Gas Platform ROV Inspection Procedure Checklist
Use this offshore gas platform ROV inspection procedure checklist to plan and report subsea inspections of jackets, risers, pipelines, anodes and scour.
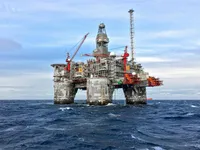
Offshore platforms are complex industrial structures with a lot of structural, electrical and mechanical parts, with a significant number of structures located under the waterline. These platforms are typically situated in marine environments where underwater inspections are challenging due to water depth, currents and unpredictable weather conditions.
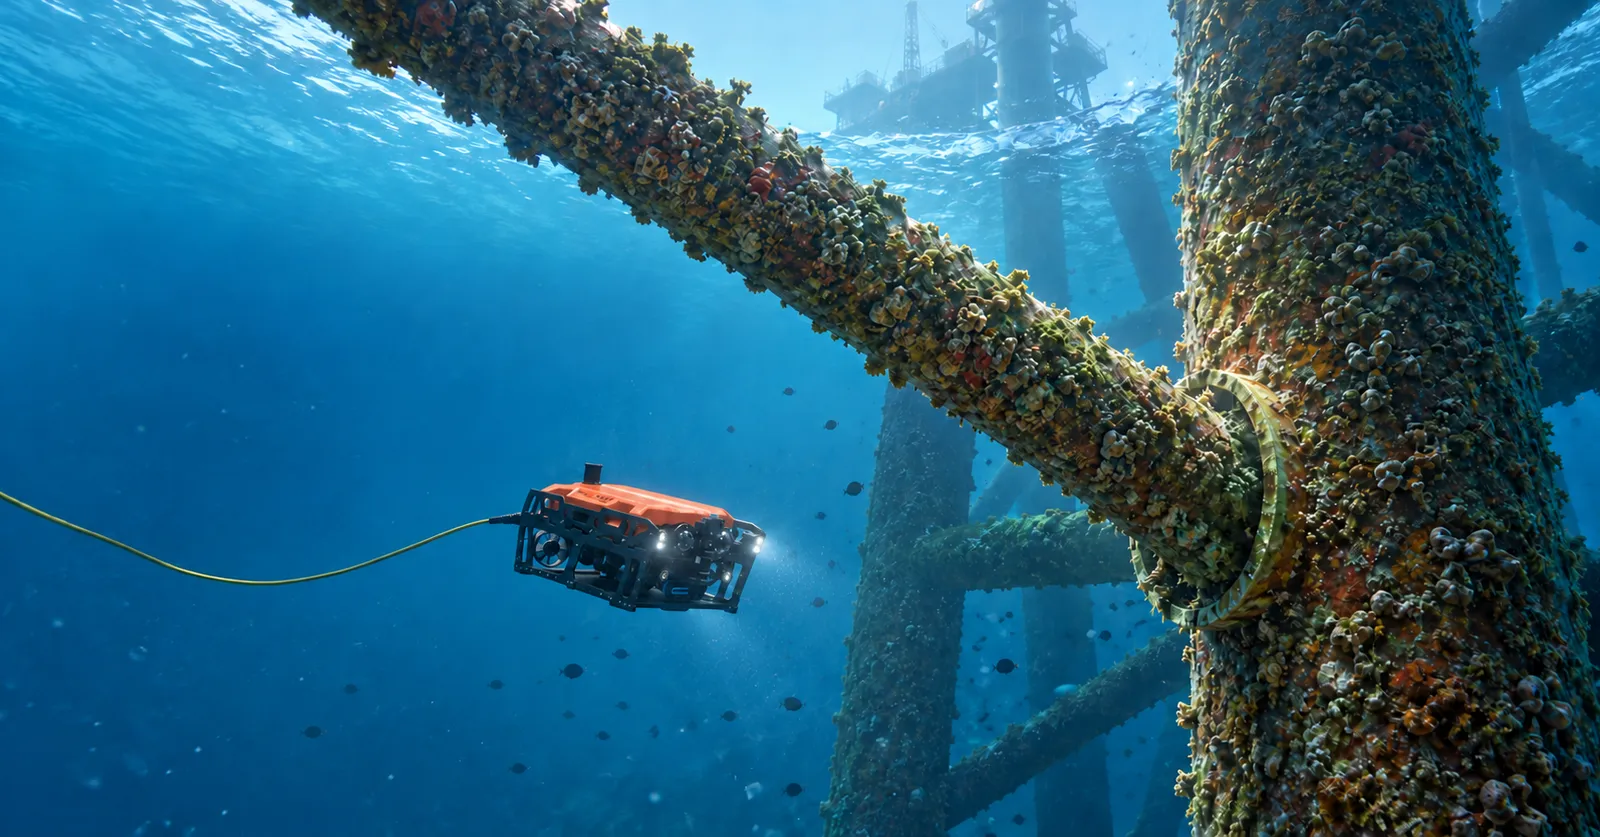
Remotely Operated Vehicles (ROVs) provide an effective solution for conducting underwater inspections in such challenging environments. An ROV can be deployed from the platform or a support vessel and remotely operated to navigate around the submerged structural components. Equipped with high-definition cameras, forward looking multibeam sonars, positioning systems, and various inspection sensors, the ROV can capture visual and inspection data in real time.
The collected data is transmitted to the surface control station through a tether connecting the ROV to the operator. This enables the inspection team to monitor the underwater structure in real time, identify potential defects such as corrosion, marine growth, structural damage, and other anomalies, and record the findings for detailed analysis and reporting.
Why ROV inspection is important for offshore gas platforms
Reducing reliance on diving campaigns
Divers can carry out platform inspections using methods such as air diving for shallower depths and saturation diving for deeper depths. These methods need a large support setup, and the diving duration depends on depth and sea conditions.
Using ROVs or AUVs reduces divers’ exposure to hazardous conditions without compromising inspection efficiency.
Inspecting difficult subsea areas
Areas with heavy marine growth, the splash zone, K-joints and the strong currents around the legs are some of the areas which are difficult to inspect. On floating gas platforms, sea chest gratings and fairleads are also hard to reach.
ROVs provide a practical solution for inspecting these areas. Equipped with high-definition cameras, lights, forward looking multibeam sonars, and other inspection sensors, an ROV can navigate around subsea structures and capture detailed inspection data. However, the effectiveness of an ROV operation can be affected by factors such as strong currents, poor visibility, restricted access, water depth, and the technical limitations of the ROV and its payloads.
During the inspection, live video and sensor data are transmitted through the ROV tether to the surface control station. This allows the ROV pilot, inspection team, and asset owner to monitor the condition of the subsea assets in real time.
ROV-based inspection can go beyond visual inspection by incorporating Ultrasonic Thickness (UT) measurement to assess the remaining wall thickness of subsea structural members, along with cathodic protection (CP) surveys.
Pre-inspection ROV checklist
Define inspection scope and objectives
The ROV can inspect the underwater portion of the complete platform, including the jacket legs, braces, K-joints, nodes, risers, pipelines and anodes. The ROV will move vertically and horizontally from the top to identify defects and damage on the surface. The ROV will be operated from the platform or a support vessel.
- Scope of Work (includes what assets are to be inspected)
- Deliverables (expected outcomes)
Platform inspections help in identifying and evaluating potential risks, so operators can plan suitable risk-reduction measures.
Review platform and environmental conditions
Before starting an ROV inspection, it is important to evaluate the platform configuration, site conditions, and environmental parameters. Based on these factors, the appropriate ROV system, deployment method, and inspection payloads can be selected.
Environmental conditions such as wind speed, wave height, water depth, and underwater current can significantly affect ROV deployment and operation.
Configure the ROV and inspection equipment
The ROV can be configured with customised inspection payloads based on the platform, inspection objectives, and site conditions. Selecting the right combination of equipment is important to ensure that the ROV can capture reliable visual and inspection data.
As a basic requirement, the ROV is equipped with a high-definition or low-light camera for live video, image capture, and documentation of the subsea structure. High-intensity underwater lights are also used to improve visibility and provide clear images, particularly in deep or low-visibility environments.
Additional payloads can be integrated depending on the inspection requirements:
- Ultrasonic Thickness (UT) Gauge: Measures the remaining wall thickness of structural members and components, helping identify metal loss and assess corrosion.
- Cathodic Protection (CP) Probe: Measures underwater electrical potential to assess whether the structure is receiving adequate cathodic protection against corrosion.
- Forward Looking Multibeam Sonar: Provides underwater imaging when visibility is poor and helps the pilot navigate around the structure and identify objects or anomalies that may not be visible to the camera.
- Cleaning Tool: Can be used to remove marine growth from selected inspection areas, allowing clearer visual inspection and improving the contact surface for certain inspection techniques.
- Position Tracking System: Records the ROV’s position during the inspection, allowing defects and points of interest to be geographically referenced. This helps the inspection team accurately return to the same location for closer examination or future monitoring.
Complete safety and communication checks
Before beginning the actual inspection, a series of safety and equipment checks should be completed to ensure that the ROV and its inspection payloads are ready for deployment. These checks help identify potential equipment or communication issues before the ROV is sent into the water. The ROV will commence the inspection only after successful completion of onboard dry and wet testing.
Offshore gas platform ROV inspection checklist
Jacket and subsea structural members
The jacket is the steel frame that holds the platform in the sea. It is made of many members, and each member has its own role and its own problems to look for.
Jacket legs are the main vertical (or slightly slanted) hollow pillars at the corners of the structure. They bear the downward weight of the entire platform. The ROV checks the legs for corrosion, dents and marine growth.
Braces are the crisscrossing steel pipes welded between the legs, often in X or K shapes. They give the jacket its truss-like strength to resist horizontal pounding from waves and storms. The ROV checks the braces for cracks, bends and missing members.
Nodes are the complex joints where multiple steel braces meet and are welded to the legs. These experience the highest stress, so the ROV checks them closely for weld cracks and corrosion.
Conductor guides are internal framing members that hold and guide the well conductors straight down into the seabed. The ROV checks them for wear and misalignment.
Mudmats are flat steel plates at the very bottom of the jacket legs. They act like snowshoes, preventing the heavy jacket from sinking into soft mud before the piles are driven. The ROV checks the mudmats for burial and damage.
Piles, risers, and conductors
These are the main structural and fluid-transfer components of an offshore gas platform.
- Conductors are large pipes installed in the initial stage of drilling to protect the well from collapse.
- Risers are vertical pipes that carry gas and other fluids between the seabed and the platform.
- Piles are deep foundation elements driven into the seabed to hold the platform in place.
The ROV checks the pile welds and grout, the riser clamps and coating, signs of gas leaks and wear on the conductors.
Pipelines and subsea connections
Pipelines are large structures that carry gas and other fluids from offshore to onshore. They are mostly made of thick steel, and flexible pipes with plastic layers are also used. Subsea connections are the points where a pipeline joins a riser or another line, like flanges, spools and tie-ins.
The ROV checks for free spans, loss of burial, coating damage, debris and leaks at the connections. Read more in our underwater pipeline inspection blog.
Anodes and cathodic protection components
The simplest method to apply cathodic protection is by connecting the metal to be protected with another more easily corroded metal to act as the anode. Zinc, aluminium and magnesium are the metals commonly used as anodes, and offshore platforms mostly use aluminium and zinc.
A sacrificial anode is installed to resist corrosion. The anode, like zinc, corrodes first, so the steel structure stays protected. The anode is the point where oxidation occurs, and the cathode is the electrode where reduction occurs.
The ROV checks how much each anode has worn away, looks for missing anodes and takes CP readings, which help to understand the corrosion or degradation in the structure.
Seabed and scour conditions
The current around the platform removes the sediment from the base of the legs and piles. This is called scour. Scour can expose the piles and mudmats and leave the pipelines without support. The ROV checks the scour depth, debris near the structure and compares the seabed with earlier inspections.
ROV inspection procedure: From deployment to recovery
ROV deployment and system checks
After the dry and wet tests, the ROV is launched. The pilot keeps the ROV near the surface to check the balance, video and communication before starting.
Systematic underwater inspection
The ROV will move down one leg at a time from the top and then along each level of bracing. When a defect is found, the ROV will stop, record the position and take a close view.
Image, video, and sensor data collection
The video is recorded with an overlay, photos are taken with laser scalers to show the size, and every UT and CP reading is linked to the point where it was taken. Sonar is used where the water is not clear.
ROV recovery and post-dive verification
After recovery, the ROV and tether are checked for damage. The day’s video is checked against the plan so any missed area can be covered while still on site.
Advanced technologies used during ROV inspection
High-definition cameras and lighting
The HD camera is the main tool for visual inspection. Lights placed to the side of the camera reduce the glare from particles in the water.
Sonar for low-visibility inspection
When the water is not clear, the ROV can carry a forward looking multibeam sonar as a payload to see the structure and find debris. Multibeam sonar helps in mapping the seabed and scour. Read more in our sonar scanning blog.
NDT and thickness measurement
The ROV can carry a UT gauge to measure the wall thickness after cleaning the spot. Other tests like ACFM and flooded member detection are done by specialist contractors.
Post-inspection checklist and reporting
Review and validate inspection data
Check that every part was inspected, the overlays are correct and the readings match the calibration records.
Document defects and anomalies
Give each defect a number, location, size and severity, and mention whether it is new or growing since the last inspection.
Prepare the inspection report
The report should include the scope, dates, site conditions, equipment used, coverage, list of defects, CP, anode, scour and thickness findings, recommendations, and images and video. EVAP helps in post-processing the video and preparing the report.
How ROV inspection supports offshore asset integrity
Early detection of structural issues
Regular ROV inspections find small problems like anode wear, coating damage and scour before they grow.
Planning maintenance and follow-up NDT
The ROV findings show the repair and testing teams where to focus.
Building repeatable inspection records
Using the same route and report format every time builds a history of the platform, so changes can be tracked over the years.
Common ROV inspection mistakes to avoid
Inspecting without a defined scope
Without a clear scope, the team ends up with hours of video that don’t answer any question.
Poor data quality or incomplete coverage
Missing overlays and skipped members mean the team has to go back again.
Treating visual inspection as a complete integrity assessment
A camera only shows the surface. It cannot tell the wall thickness or crack depth, so it should be combined with UT and CP readings.
Protect every platform from the surface to the seabed
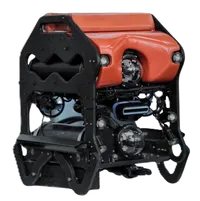
EyeROV designs and builds underwater ROVs in India. EyeROV SAGARA can carry payloads like forward looking multibeam sonar and a UT gauge, and EVAP helps organise the recorded data.
Explore EyeROV’s offshore inspection solutions and bring greater confidence to every subsea inspection.
Frequently asked questions
What parts of an offshore platform can an ROV inspect?
Jacket legs, braces, nodes, piles, risers, conductors, pipelines, anodes and the seabed around the platform.
Can ROVs inspect offshore platform foundations?
Yes. The ROV checks the piles, mudmats and scour around them.
Can an ROV detect corrosion on subsea structures?
Yes. The camera shows visible corrosion, the UT gauge measures wall loss and the CP probe checks the corrosion protection.
Can ROVs measure underwater wall thickness?
Yes, using a UT gauge carried as a payload.
How does sonar support offshore ROV inspections?
Sonar helps the ROV see in low-visibility conditions.
What should an ROV inspection report contain?
Scope, coverage, defects, measurements, recommendations, and images and video.
What are the benefits of ROV inspection for offshore gas platforms?
The ROV stays underwater longer, reaches difficult areas and gives recorded data that can be compared with later inspections.